Highlighter makeup is the not-so-secret weapon behind every celebrity’s radiant red-carpet look. When done properly, it gives your face dimension, brightness, and a youthful luminosity. But the magic is knowing where to use it. In this guide, we’ll explain where to put highlighter makeup for maximum effect, how to choose the right formula, and how to avoid common errors. Whether you’re a novice or a makeup master, you’ll discover how to accentuate your features with precision.
What is Highlighter Makeup?
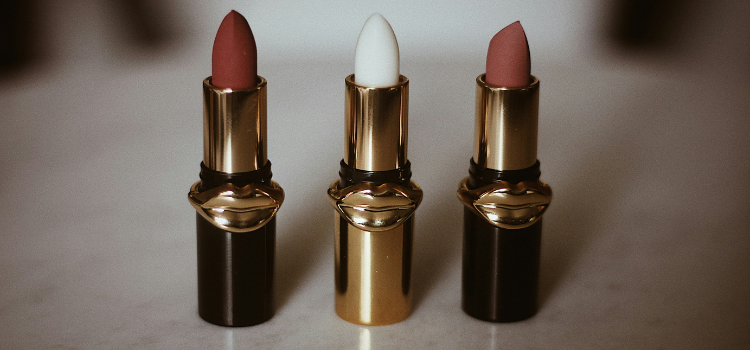
Highlighter, a shimmering makeup product that captures light, accentuates your bone structure, and gives skin a moist, glowy look. Available in powder, cream, and liquid formulas, it’s versatile enough for understated daytime looks or dramatic evening glam.
Key Areas to Apply Highlighter
Here’s where to strategically place highlighter for maximum impact:
1. Cheekbones
- Why: Enhances facial structure by drawing attention to the high points.
- How: Swipe a small amount along the tops of your cheekbones, blending upward toward your temples.
- Pro Tip: Pair with contouring under the cheekbones for a sculpted effect.
2. Brow Bone
- Why: Lifts and defines the eyes.
- How: Dab a subtle shimmer directly under the arch of your eyebrows.
3. Inner Eye Corners
- Why: Brightens the eyes and makes you look more awake.
- How: Use a small brush or fingertip to apply a tiny amount to the inner corners.
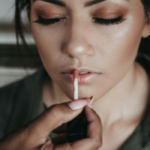
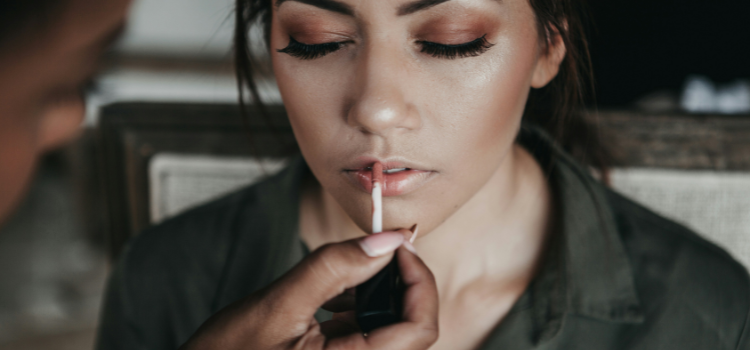
4. Cupid’s Bow
- Why: It enhances lip shape and adds a plumping effect.
- How: Highlight the curve above your upper lip for a defined look.
5. Nose Bridge
- Why: It creates the illusion of a slimmer, more defined nose.
- How: Apply a thin line down the center of your nose and blend well.
6. Collarbones and Shoulders
- Why: It adds a radiant glow to your décolletage for special occasions.
- How: Dust highlighter along the tops of your collarbones and shoulders.
Choosing the Right Highlighter Formula
- Powder Highlighter: This is Best for oily complexion as it is easy to blend and long-lasting.
- Cream Highlighter: Best for dry skin, offering a natural, dewy finish.
- Liquid Highlighter: Multipurpose, can be mixed with foundation for an overall radiant glow.
- Stick Highlighter: This is more favorable with the on-the-go application and suitable for beginners.
- Baked Highlighter: Ultra-shimmery, great for drama.
Tools for Applying Highlighter
Fan Brush: Perfect for a soft, diffused glow.
- Beauty Sponge: This is Best for a soft, diffused glow.
- Fingertips: This is Best for spot placement and really small areas like on Cupid’s bow.
Common Mistakes to Avoid
Overapplication: Less is more—build up gradually.
- Wrong Shade: Select a highlighter that matches your skin tone.
- Uneven Blending: Always blend edges.
- Mismatched Undertones: Make sure your highlighter’s undertone (warm, cool, or neutral) matches your skin.
FAQs for Voice SEO
- Where should I apply highlighter for a natural look?
Apply highlighter to the high points of your face, such as your cheekbones, brow bone, and Cupid’s bow, for a subtle glow. - What’s the best highlighter for oily skin?
Powder highlighters are ideal for oily skin as they provide a long-lasting, matte-to-shimmer finish. - Can I use highlighter on my body?
Yes, you can apply highlighter to your collarbones, shoulders, and even legs for a radiant, all-over glow. - How do I choose the right highlighter shade?
Select a shade that matches your skin’s undertone—pearl or icy tones for cool undertones, gold or bronze for warm undertones, and champagne for neutral undertones. - What’s the difference between cream and powder highlighter?
Cream highlighters offer a dewy, natural finish and are better for dry skin, while powder highlighters are long-lasting and ideal for oily skin. - Can I mix highlighter with foundation?
Yes, mixing liquid highlighter with foundation creates an all-over radiant base. - How do I fix overapplied highlighter?
Use a clean sponge or brush to blend out excess product, or tone it down with a light layer of translucent powder.
Additional Tips for a Flawless Glow
- Skincare Prep: Apply on exposed skin for seamless coverage.
- Primer: Apply a luminous primer to amplify the effect of the highlighter.
- Setting Spray: Secure your glow with a dewy setting spray.
- Layering Techniques: The key to a more sophisticated
- Multi-Use Products: Use your highlighter as an eyeshadow or lip topper for a seamless look.
Top Highlighter Recommendations
- Fenty Beauty Killawatt Freestyle Highlighter: Buildable and versatile.
- Becca Shimmering Skin Perfector: A cult favorite for a natural glow.
- Anastasia Beverly Hills Amrezy Highlighter: Intense and long-lasting.
- MAC Mineralize Skinfinish: This is Perfect for a soft, radiant finish.
- Rare Beauty Positive Light Liquid Luminizer: Great for a dewy, natural look.
- Drugstore Picks: Maybelline Master Chrome, Wet n Wild MegaGlo.
Conclusion
Learning where to put highlighter makeup can elevate your look from two-dimensional to three. By applying to Magnus areas like your cheekbones, brow bone, and Cupid’s bow and selecting the right formula for your skin type, you’ll experience a radiant, lit-from-within glow. Plus, learn about the tools to experiment with, common pitfalls to avoid, and top-rated alternatives to discover your best fit.